
Regular car maintenance is not just about keeping your vehicle looking good; it's essential for safety, performance, and extending your car's lifespan. While some complex repairs require professional expertise, many maintenance tasks can be performed in your own garage with the right knowledge and tools. This guide will help you navigate the world of DIY car repairs and know when to call in the experts.
Essential Tools and Equipment for DIY Car Maintenance
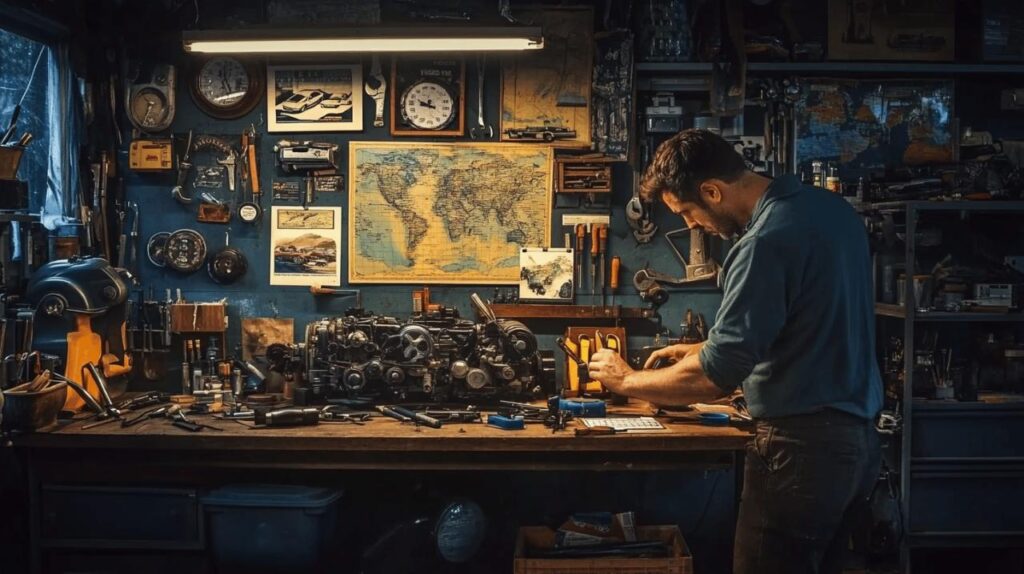
Before diving into any repair work, having the right tools on hand is crucial. Auto Service Gall professionals recommend building up a basic toolkit that will serve you well for most common maintenance tasks. With proper equipment, you'll save time and prevent damage that can occur when using improper tools.
Basic tools every car owner should have
Starting your DIY journey requires some fundamental tools. A quality socket set with various sizes is indispensable for most repairs. Include both metric and imperial measurements to accommodate different vehicle types. A reliable torque wrench ensures you tighten bolts to manufacturer specifications, preventing over-tightening that can damage components. Other essentials include screwdrivers, pliers, an oil filter wrench, funnel, drain pan, jack and jack stands for safely elevating your vehicle, and a tyre pressure gauge for regular checks. For electrical issues, a multimeter can help diagnose simple problems, though complex electrical systems should be assessed by professionals with specialised diagnostic equipment.
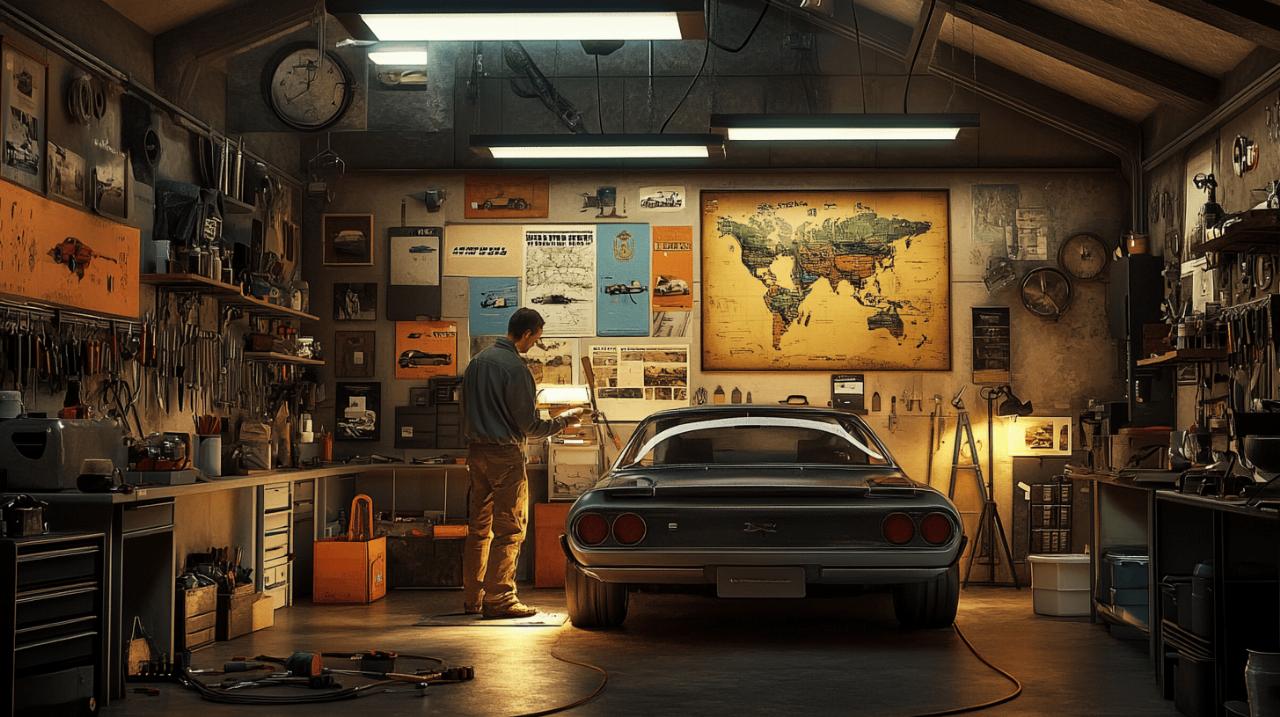
Organising your workspace for efficient repairs
An organised workspace makes repairs smoother and safer. Dedicate a clean, well-lit area with enough space to move around your vehicle. A level concrete floor is ideal for stability when using jacks. Consider installing proper lighting or using portable work lights to illuminate dark areas under the bonnet or beneath the car. Storage solutions like tool chests or pegboards keep tools accessible and prevent loss or damage. Always have clean rags, disposable gloves, and appropriate cleaning supplies on hand. Creating a dedicated area for parts removal helps prevent losing small components during disassembly. Many experienced home mechanics also recommend keeping a service manual specific to your vehicle nearby for reference during repairs.
Simple diy maintenance tasks for beginners
 Many routine maintenance tasks are perfectly suited for beginners and can save significant money over time. Regular DIY maintenance also helps you become more familiar with your vehicle's systems, making it easier to identify potential problems before they become serious. Starting with simpler tasks builds confidence for more complex repairs later.
Changing oil and filters: step-by-step guide
Regular oil changes are vital for engine health and longevity. Most vehicles need an oil change every 5,000 miles, though you should check your owner's manual for specific recommendations. The process typically takes 30 to 45 minutes once you're familiar with it. Start by warming up the engine slightly to help oil flow better, then safely elevate your car using a jack and secure it with jack stands. Locate the oil drain plug underneath the engine, place your drain pan beneath it, and carefully remove the plug to drain the old oil. While it's draining, remove the old oil filter using an oil filter wrench. Before installing the new filter, apply a thin layer of fresh oil to the rubber gasket. Once the old oil has drained completely, replace the drain plug and tighten it according to specifications. Fill the engine with the correct type and amount of new oil as specified in your manual. Finally, check for leaks and monitor your oil level regularly between changes.
Battery maintenance and replacement tips
Your car battery typically lasts three to five years, but proper maintenance can extend its life. Regularly check for corrosion on the terminals, which appears as a white or greenish substance. Clean this away using a mixture of baking soda and water, applying it with an old toothbrush. Ensure the battery is securely mounted to prevent vibration damage. When your battery shows signs of weakness like slow engine cranking or dimming headlights, it's time for replacement. To replace a battery safely, first disconnect the negative terminal followed by the positive one. Remove any brackets or clamps securing the battery, then lift it out carefully as car batteries are heavy. When installing the new battery, connect the positive terminal first, then the negative. Apply anti-corrosion pads or petroleum jelly to the terminals to prevent future buildup. For vehicles with sophisticated electronics like modern Ford vehicles, consider using a memory saver device during battery replacement to preserve your radio presets and computer settings.
While DIY car maintenance can save money and be rewarding, recognize when a job requires professional attention. Complex systems like transmissions, sophisticated electronics, turbocharger maintenance, and major suspension work should be handled by qualified technicians with specialized equipment. For example, modern vehicles with turbochargers require precise maintenance that's beyond most home mechanics' capabilities. Similarly, windscreen replacement should be left to professionals, though minor chip repairs might be possible with store-bought kits. By understanding the line between DIY projects and professional repairs, you'll keep your vehicle running smoothly while avoiding costly mistakes.